

Transform your home with professional kitchen remodeling and renovation services in Vancouver. We specialize in custom kitchen design, cabinet installation, countertop upgrades, flooring, and lighting renovation for modern and luxury homes.
Get expert kitchen remodeling in Vancouver BC with full renovation, layout redesign, and cabinet refacing. Our kitchen renovation contractors deliver affordable, high-end remodeling for homeowners across the Lower Mainland.

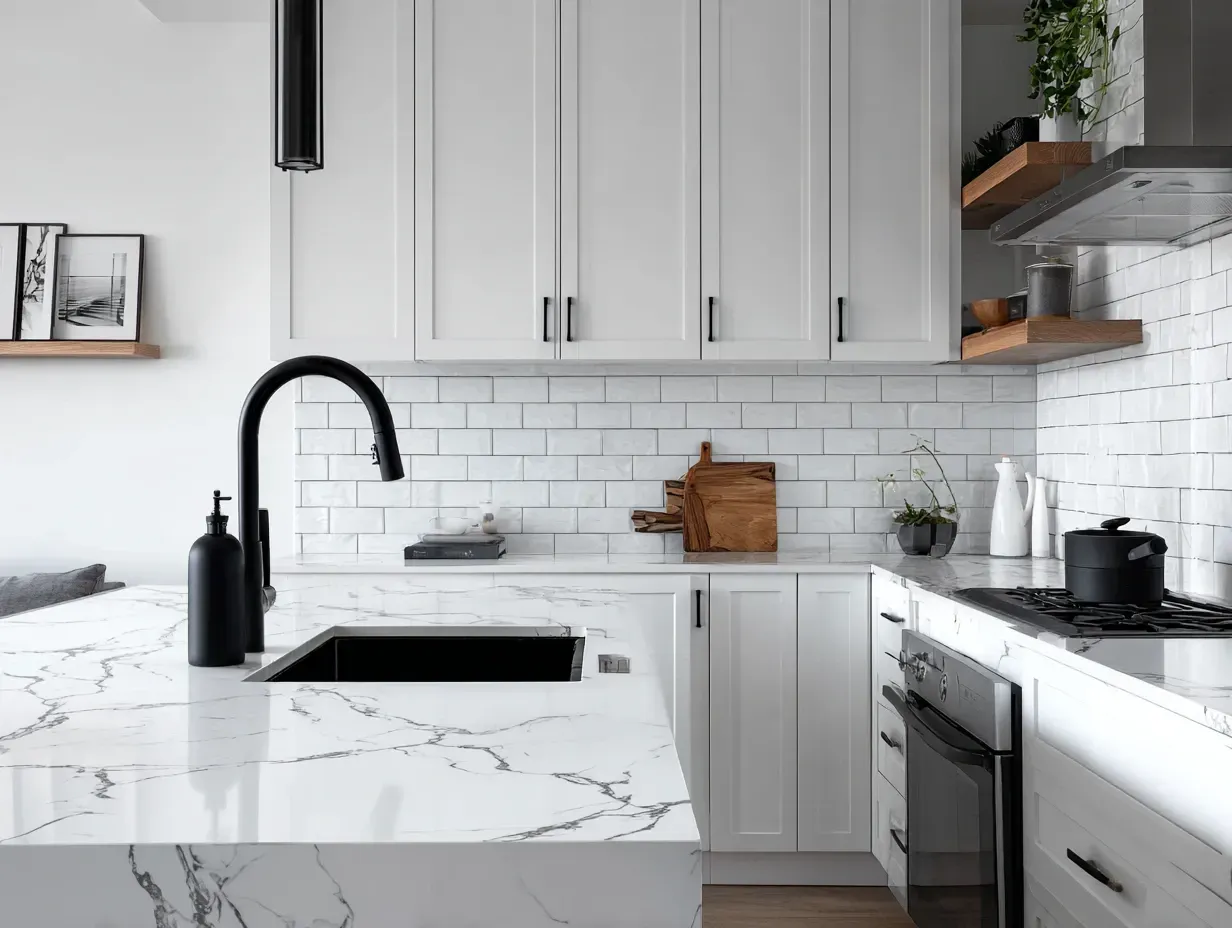
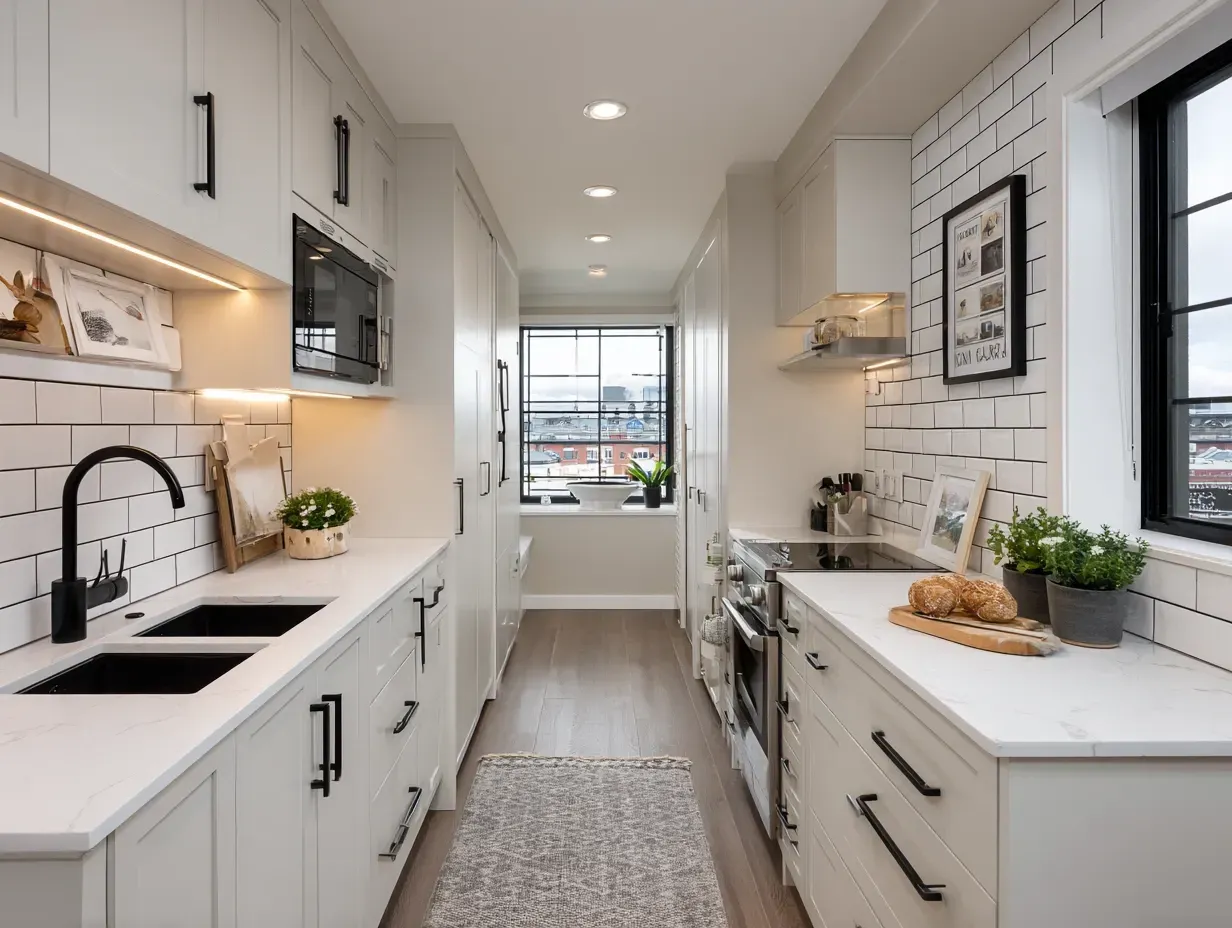
Upgrade your cooking space with our kitchen renovation and remodeling contractors in Vancouver. From custom cabinetry and countertops to open-concept design and backsplash installation, we handle it all with precision.
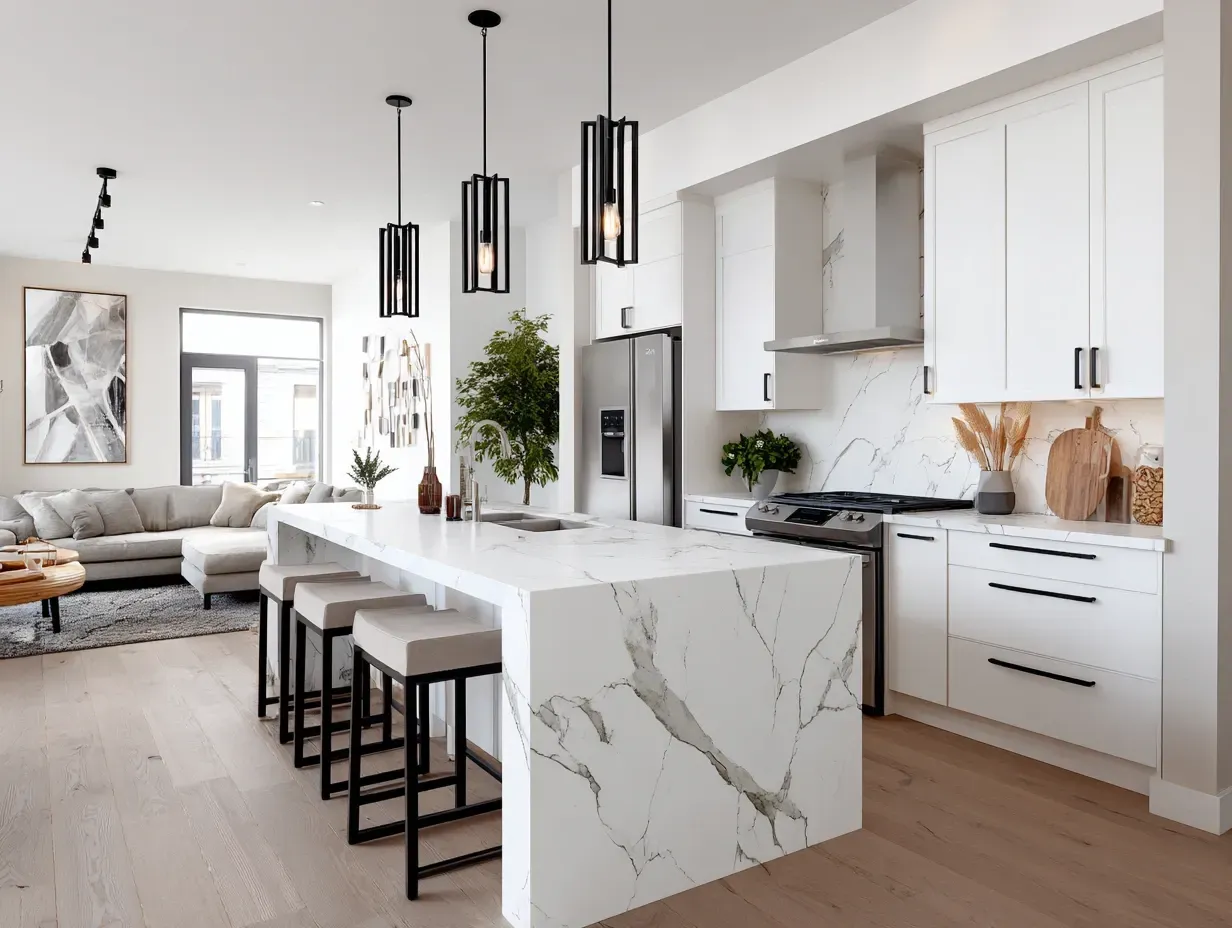
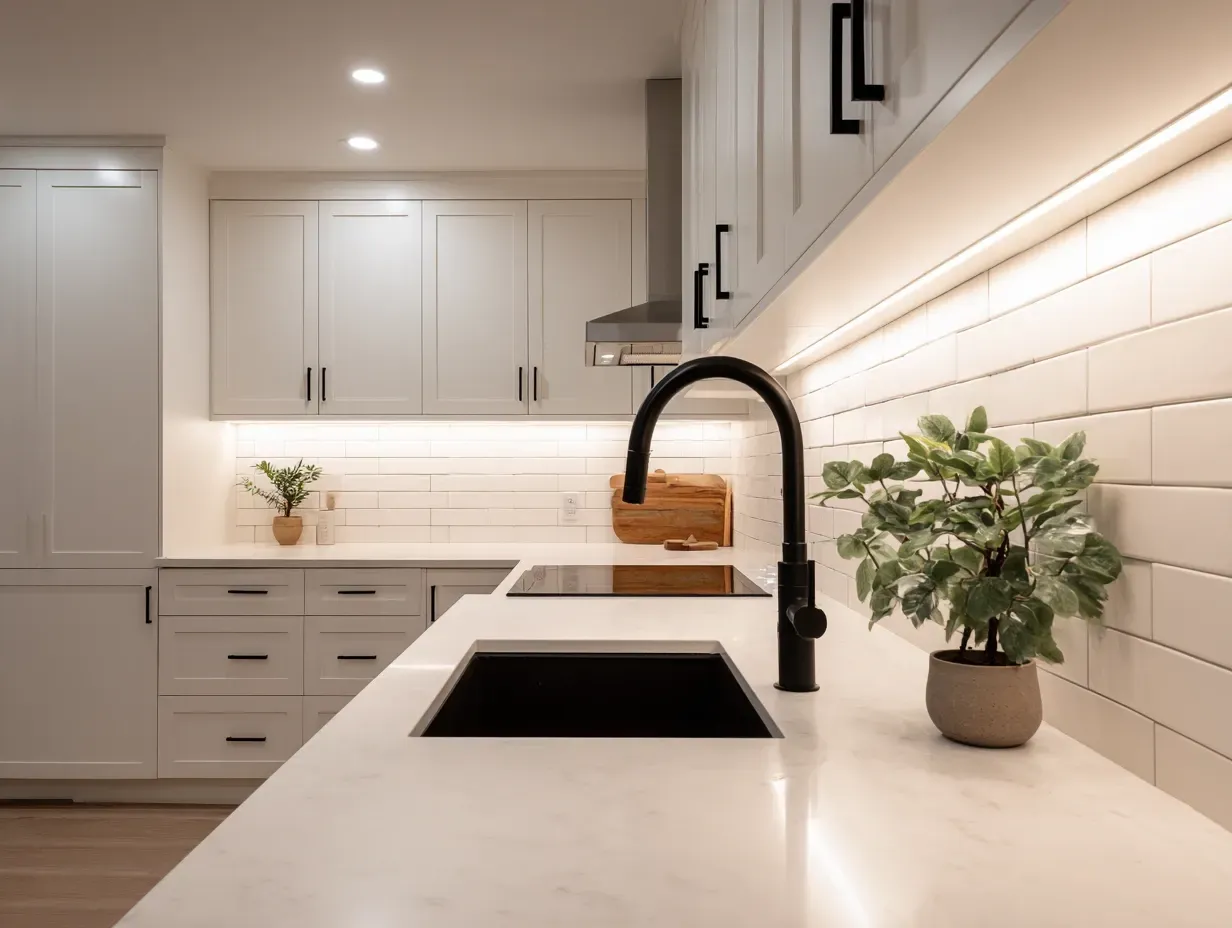
Vancouver homeowners trust us for affordable kitchen remodeling, renovation, and redesign services. Enhance your home’s value with quartz countertops, modern cabinetry, tile backsplash, and energy-efficient lighting.
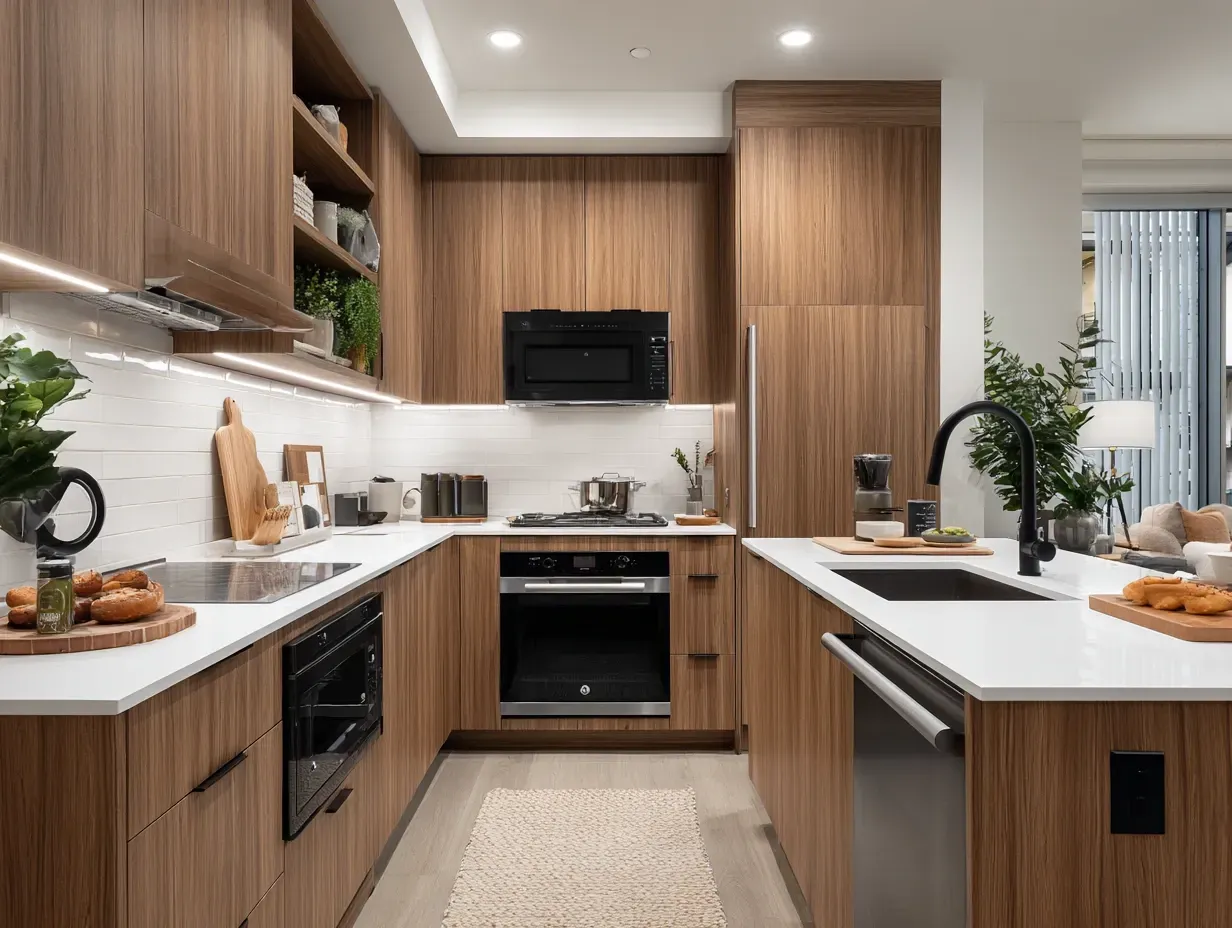
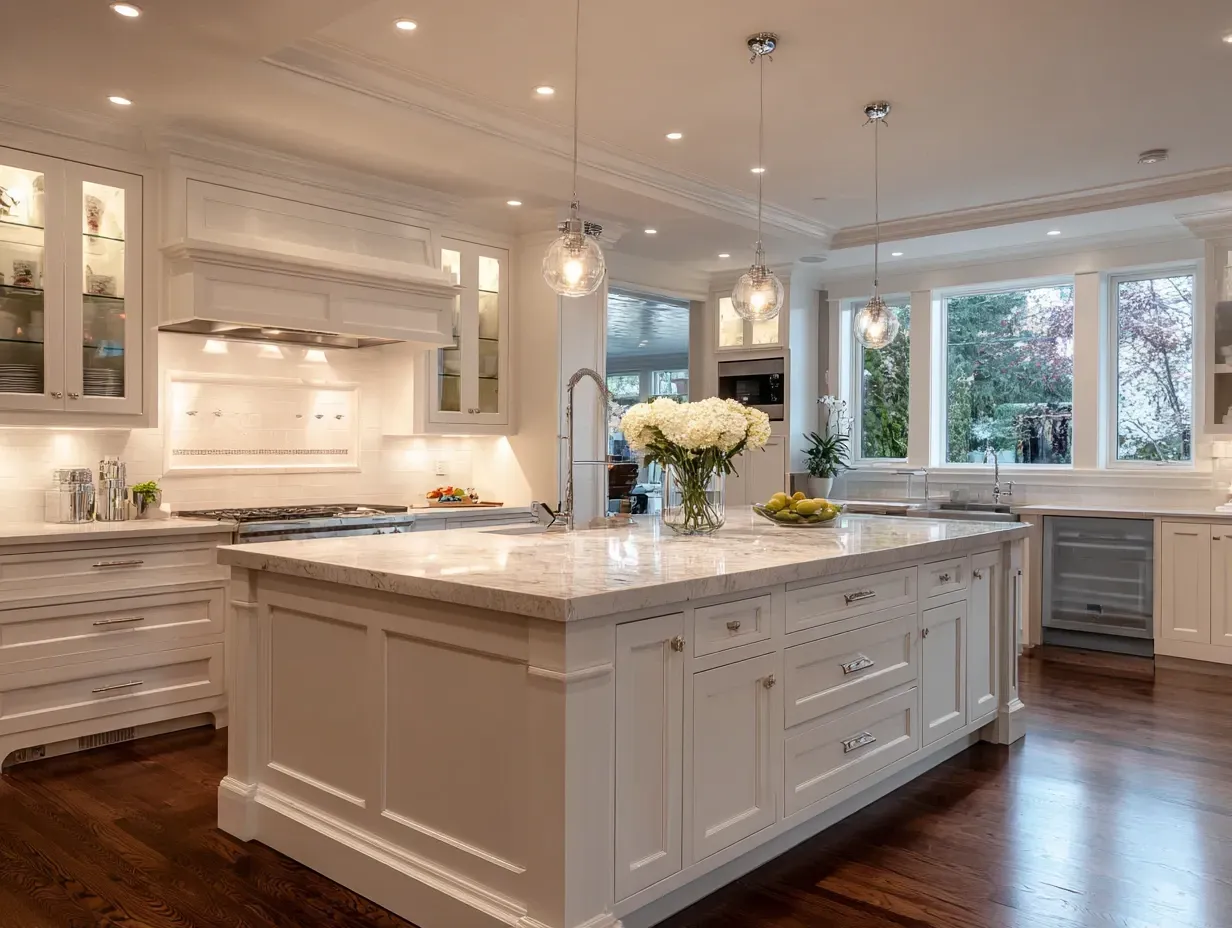
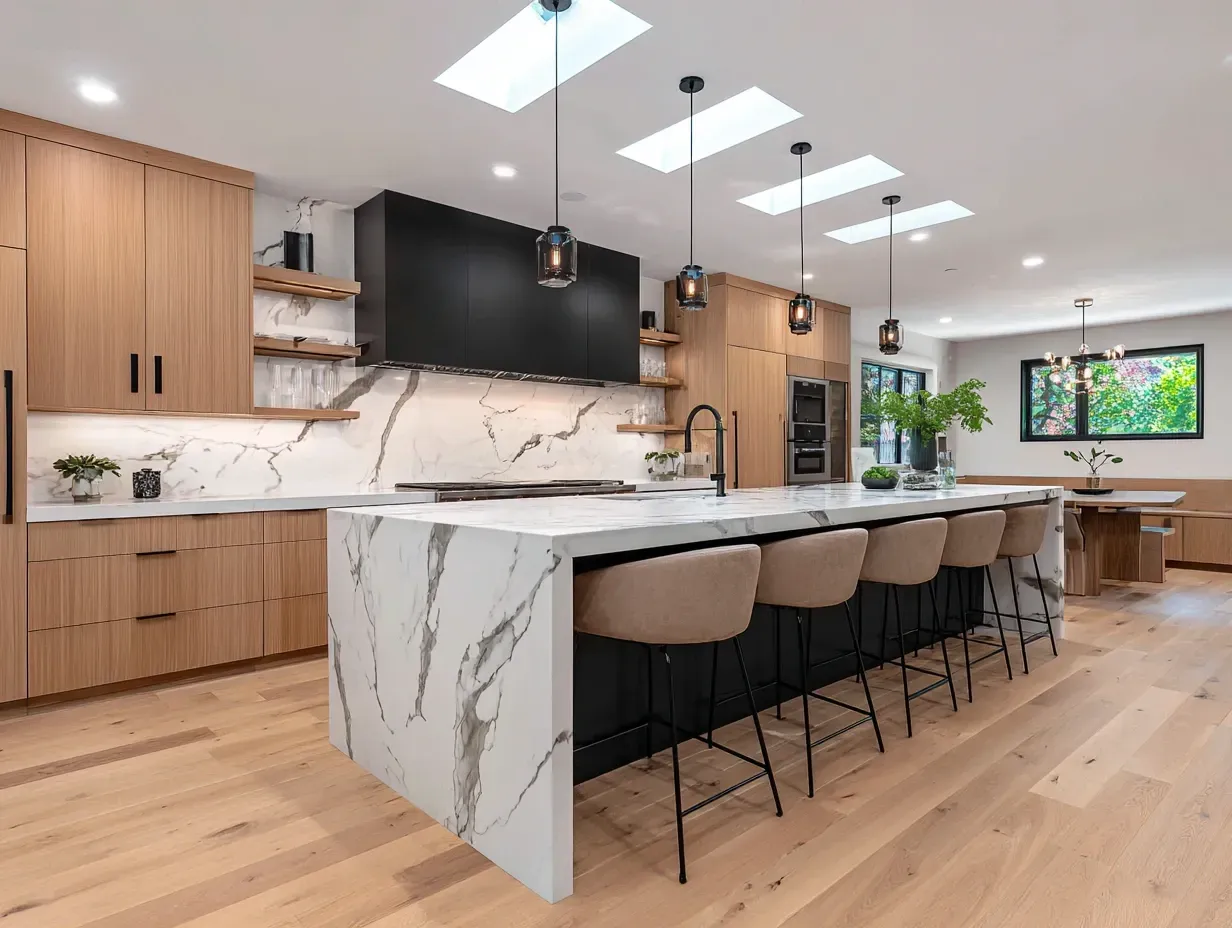
Discover luxury kitchen renovations in Vancouver and Lower Mainland BC. We provide custom kitchen remodeling, modern cabinet replacements, and functional layout improvements for high-end homes.

Your dream kitchen starts with expert kitchen remodeling contractors in Vancouver. Our services include custom kitchen design, refacing cabinets, backsplash installation, and premium countertop upgrades.
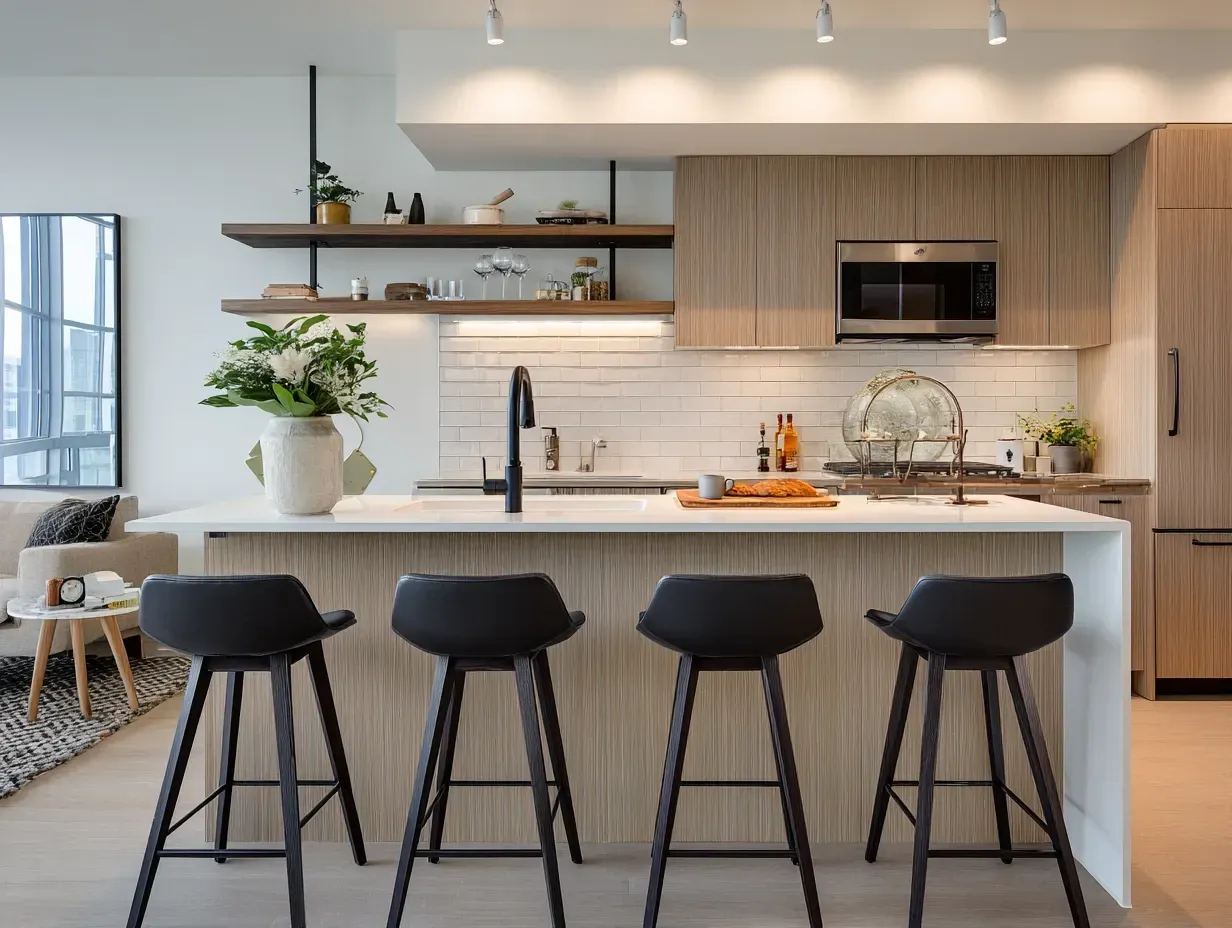
We specialize in modern and traditional kitchen renovations designed for elegance and performance. Get top-rated kitchen remodeling, cabinet installation, and flooring services in Vancouver BC today.
Looking for affordable kitchen remodeling contractors in Vancouver BC? We deliver premium kitchen renovations, full makeovers, and cabinet upgrades that transform outdated kitchens into modern masterpieces.
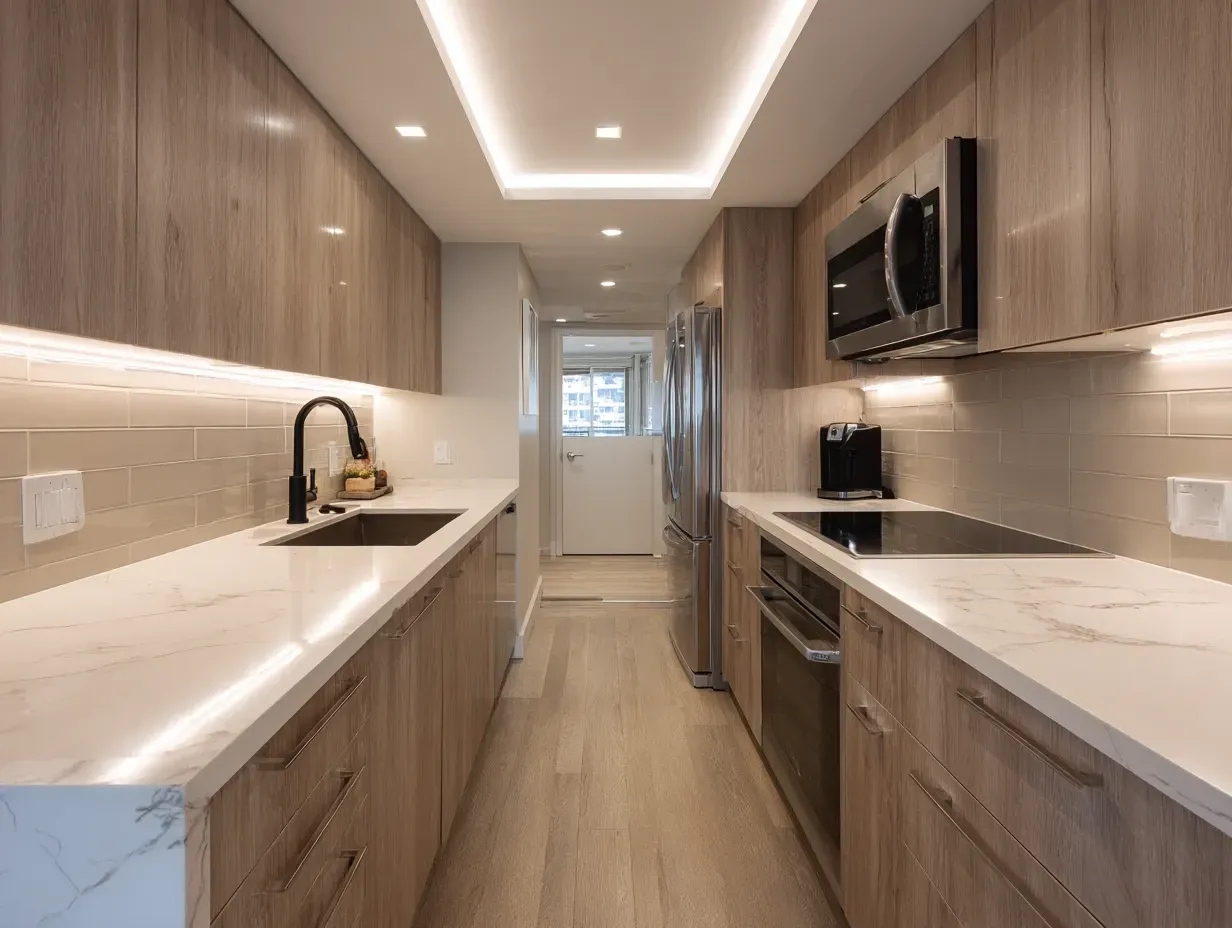
Achieve a stunning transformation with our complete kitchen remodeling and renovation services in Vancouver. We handle countertops, lighting, tiling, and cabinetry with unmatched attention to detail.
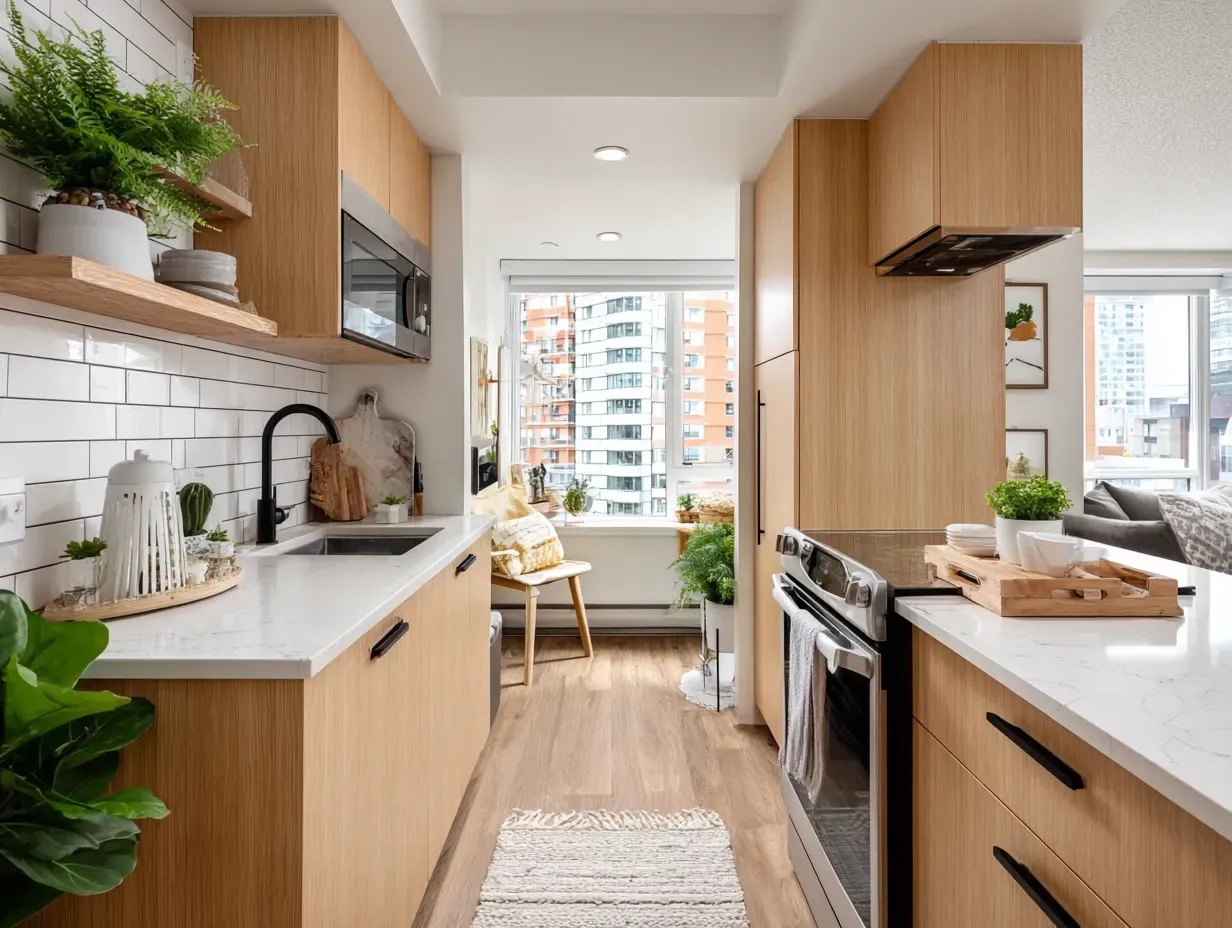
Vancouver homeowners choose us for professional kitchen remodeling and renovation services. We specialize in custom kitchens, premium finishes, and complete transformations that boost style and property value.
Choose trusted kitchen remodelers in Vancouver for quality craftsmanship and innovative design. We provide cabinet refacing, countertop installation, layout redesign, and full kitchen renovation packages.
Our Vancouver kitchen renovation team turns outdated spaces into elegant, functional kitchens. Enjoy custom cabinetry, stone countertops, tile flooring, and professional remodeling services.
Get inspired with modern kitchen remodeling ideas and expert renovation solutions. We deliver kitchen makeovers, backsplash installations, and countertop replacements throughout Vancouver and the Lower Mainland.
Our kitchen remodeling company in Vancouver BC offers innovative design, premium materials, and skilled craftsmanship. We specialize in full kitchen renovations, layout redesign, and cabinet refacing.
Make your dream kitchen a reality with Vancouver kitchen remodeling experts. From kitchen refacing and custom design to quartz countertop installation, we handle projects of all sizes.
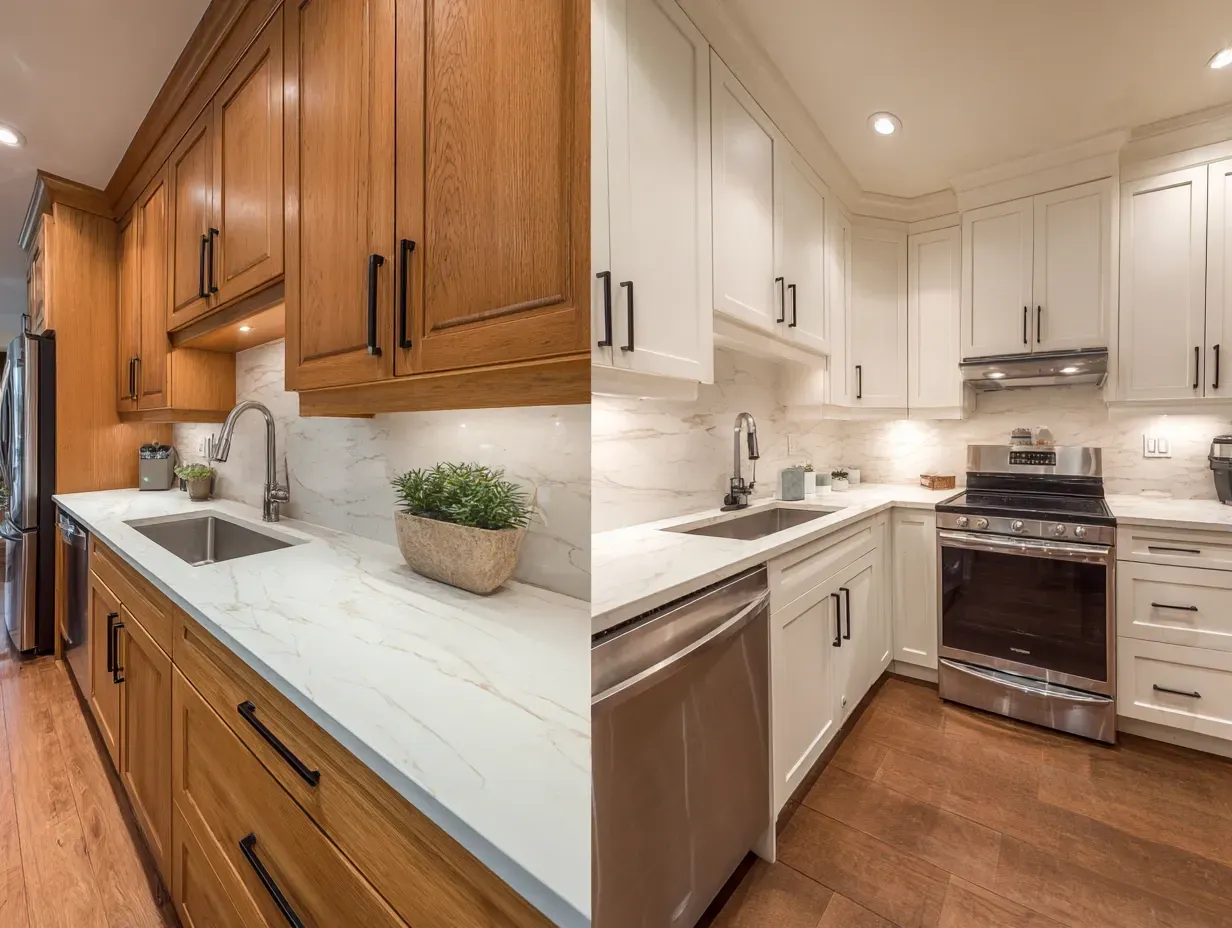
Learn the key differences between a kitchen renovation and a kitchen remodel in Vancouver, BC — and which one is right for your home. Discover how kitchen remodeling focuses on design, layout, and structural upgrades, while kitchen renovation covers finishes, materials, and cosmetic improvements.
Discover the ultimate guide to kitchen remodel costs in Vancouver, BC — including average kitchen renovation pricing, material costs, contractor labor rates, and full kitchen remodeling breakdowns across Metro Vancouver & the Lower Mainland. Learn how much it costs to remodel a small, medium, or luxury kitchen.